
Tile one image into a 2-up to 24-up sheet for catalogs, sell sheets, stickers, and print. Drop a product photo (PNG cutouts work best), choose grid / side-by-side / stacked / diagonal cascade, set the gaps, and download a full-resolution PNG — free, no signup, and your files never leave your browser.
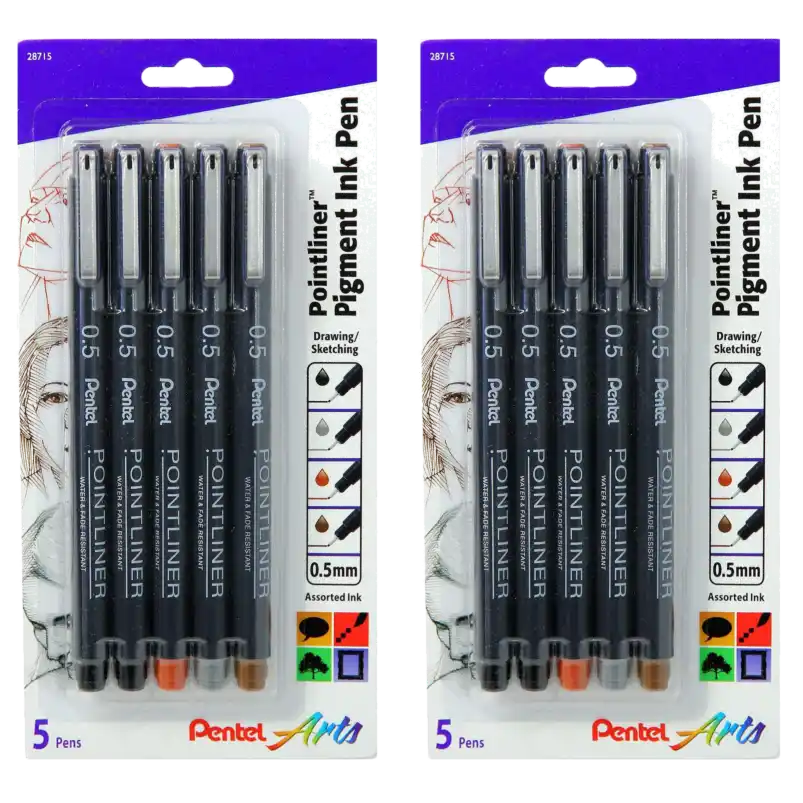
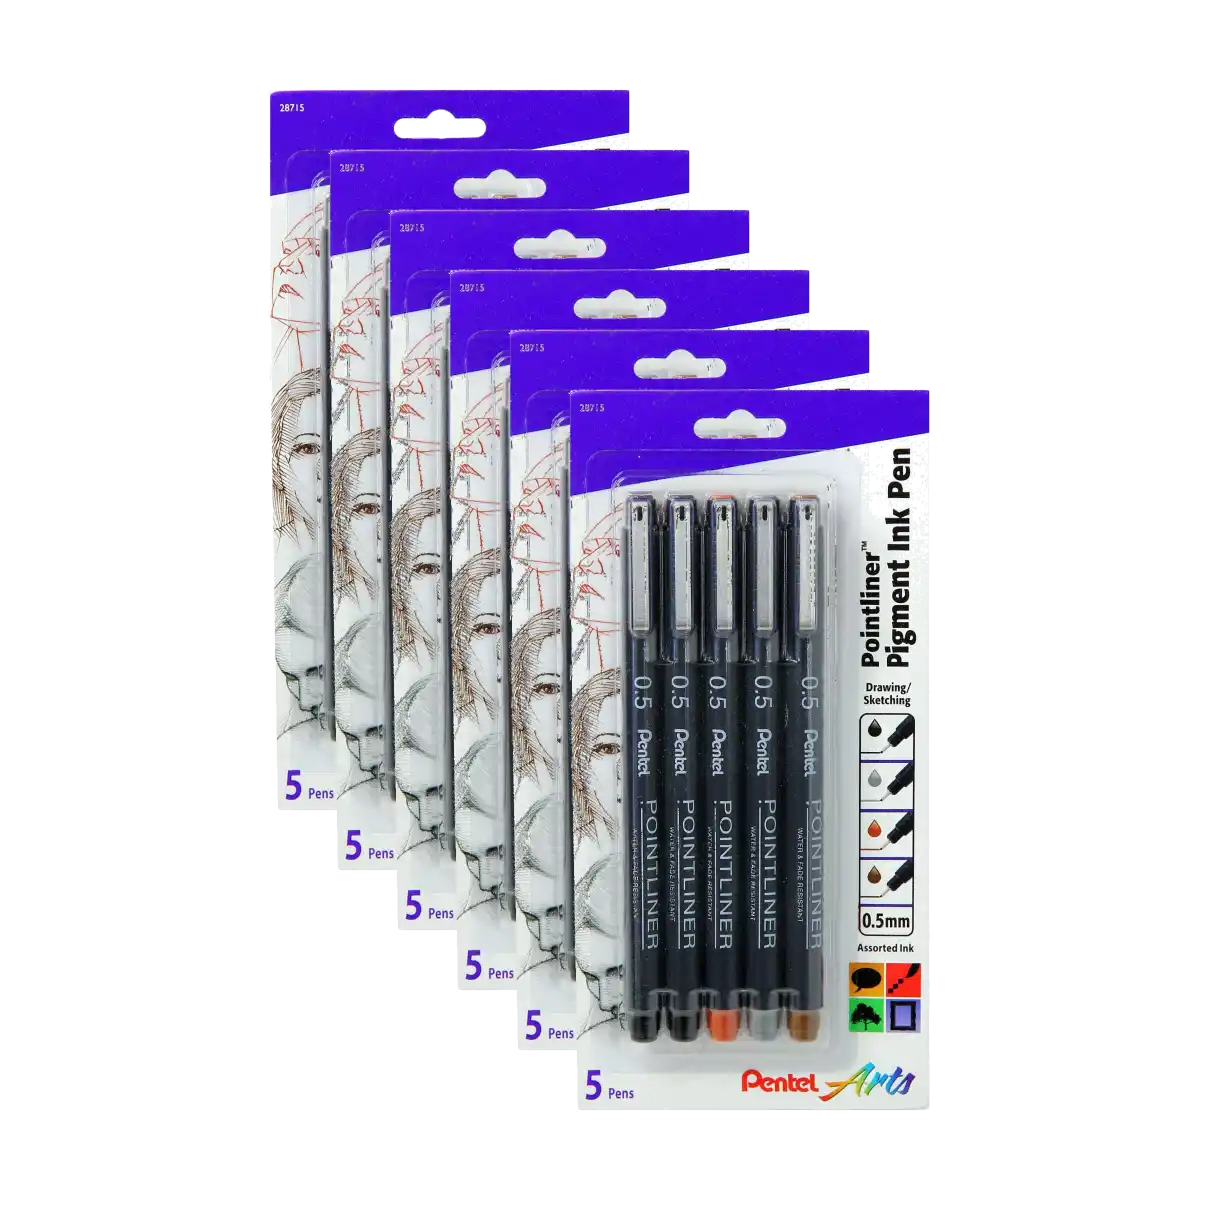
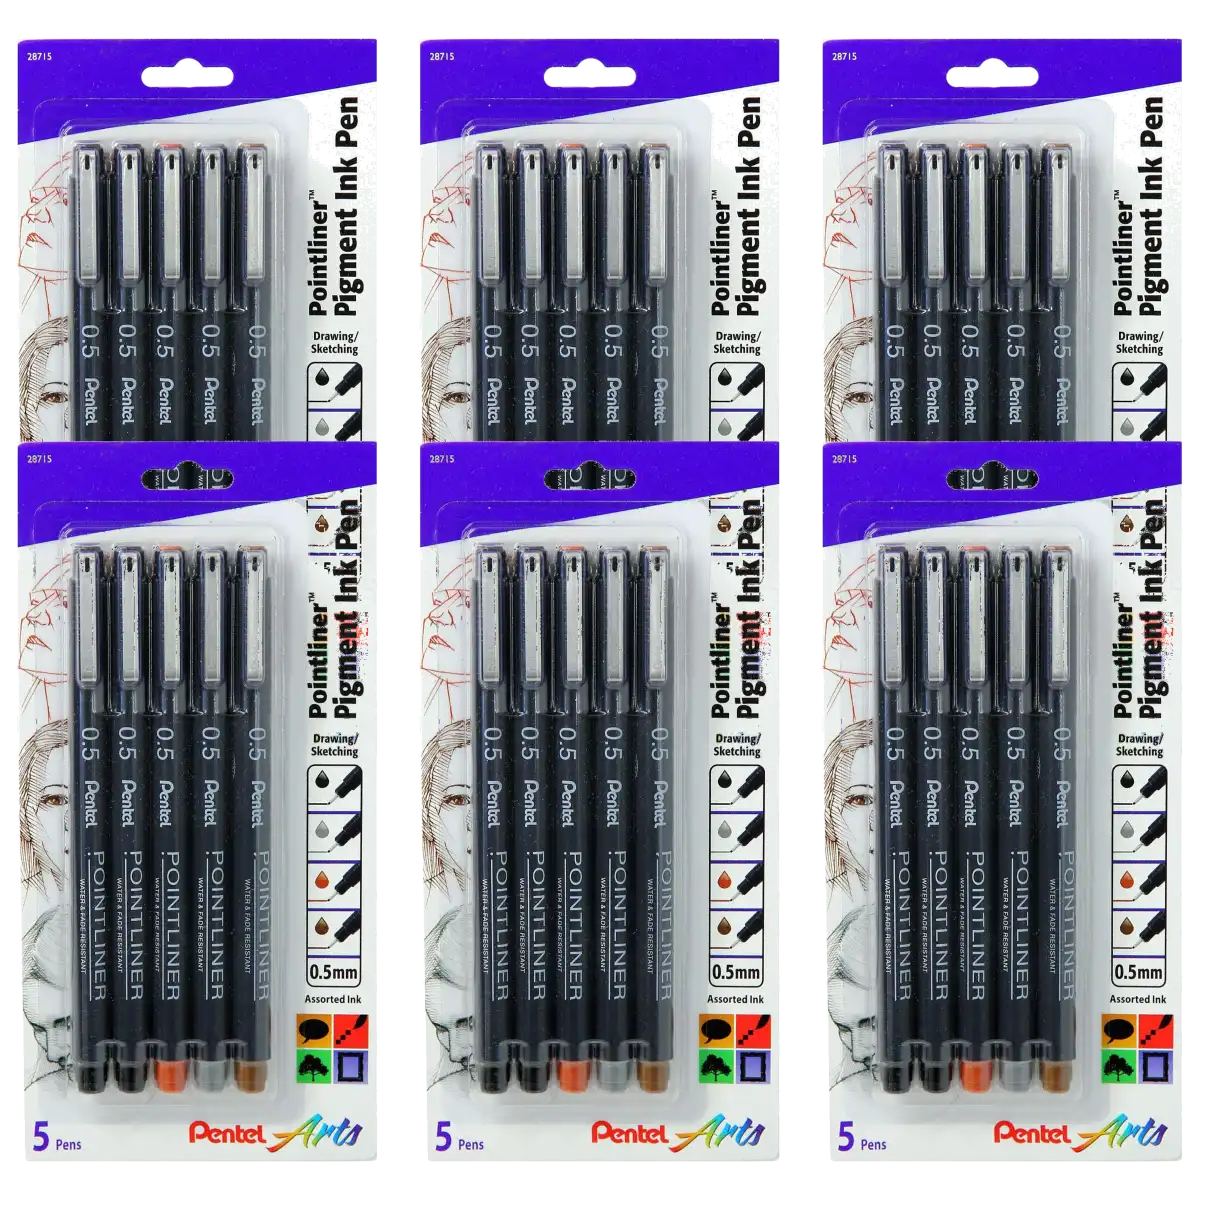
Need a multi-up product sheet without Photoshop or Illustrator? This free image tiler turns one product photo into 2-up, 4-up, 6-up, 8-up, 12-up (and up to 24-up) layouts for catalogs, sell sheets, wholesale line sheets, and sticker grids. Processing stays in your browser for this tool.
Pair with the privacy image compressor if the export is huge, or the AI image renamer when you batch-name catalog dumps before tiling. Need a single square listing photo first? Use Marketplace Listing Prep to pad to square for Etsy/Amazon sizes. Need to cut one photo into Instagram grid pieces instead? Use the Image Splitter (inverse of this tiler). Want a labeled index of many different photos (proofs, client selects, inventory)? Use the Contact Sheet Maker.
New to multi-up seller workflows? Read the full guide: Catalog image tiler for ecommerce — multi-up product sheets.
With Grid Layout, the tiler uses the smallest near-square grid that fits your quantity, so you can plan a sheet before you start:
| Quantity | Columns × rows |
|---|---|
| 2-up | 2 × 1 |
| 3-up | 2 × 2 (one empty cell) |
| 4-up | 2 × 2 |
| 6-up | 3 × 2 |
| 8-up | 3 × 3 (one empty cell) |
| 9-up | 3 × 3 |
| 12-up | 4 × 3 |
| 16-up | 4 × 4 |
| 20-up | 5 × 4 |
| 24-up | 5 × 5 (one empty cell) |
Need an exact strip instead? Side by Side puts every copy in one row, and Stacked puts them in one column.
Tiles are drawn at your source image’s pixel size — the tiler does not shrink them to fit the canvas — so size the source first:
Making round sticker sheets? Cut the design into a circle with transparent corners using Circle Crop, then tile the PNG with a small gap for cutting. Need a cutout from a busy product photo first? The AI background remover makes a transparent PNG (note: that AI tool processes images on our server, unlike the tiler).
Image tiling arranges multiple copies of the same image in organized patterns. Catalog teams use it for multi-up product sheets; print shops use it for stickers and repeats; marketers use it for comparison and quantity layouts without rebuilding artboards by hand.
Horizontal row — strong for 2–3 product comparisons and narrow strip layouts.
Column stack — useful for tall phone-friendly sheets and vertical sell sheets.
Structured rows/columns — the default for catalogs, line sheets, and sticker sheets.
Overlapping copies stepped diagonally (each offset by 15% of the image) — more visual energy for lookbooks, “pack of N” visuals, and creative decks.
Organic placement — mood boards and lifestyle-style boards without a rigid grid.
A: Upload your image, choose arrangement and quantity (2–24), set spacing/canvas size, then Generate Tiles. Edit the filename and download the multi-up sheet.
A: Sellers and print shops use it to put the same product photo into multi-up layouts — 2-up through 24-up — for catalogs, sell sheets, tear sheets, and wholesale line sheets without desktop design software.
A: No. The Image Tiler runs in your browser. Product photos stay on your device for this tool; nothing is uploaded to QuickImgTools servers to generate the layout.
A: Use Auto canvas for a tight fit, or Landscape / Portrait / Square / Wide / Custom. For letter or A4 sell sheets, match your print template dimensions, then scale in the printer dialog. Start from a high-resolution source so each tile stays sharp.
A: PNG with transparent backgrounds works best for catalog cutouts. JPG, WebP, GIF, iPhone HEIC/HEIF, and AVIF are also supported (HEIC/AVIF decode in your browser); JPG and HEIC photos have no transparency to keep.
A: Yes — side-by-side, stacked, grid, angled, or scattered, with quantity from 2-up to 24-up.
A: Yes. Edit it before download. Default looks like originalname-pk[quantity].png.
A: Up to 24 tiles in one layout — enough for common catalog and sticker multi-ups.
A: Yes — 0 to 100 pixels, so tiles can sit flush or leave gutters for cut lines and margins.
A: The tiler builds multi-up sheets (2–24 copies of one photo for catalogs, stickers, and print). Marketplace Listing Prep makes a single square listing image with pad/crop and Etsy/Amazon/eBay/Shopify/IG size presets. Use listing prep for one marketplace hero; use the tiler for multi-up sheets.
A: Use the free DPI converter to calculate inches/cm from your sheet’s pixel dimensions and (for JPG/PNG) write a 300 DPI tag. Changing DPI does not add detail — it only updates print math/metadata. Build the multi-up layout here first, then tag DPI before sending to a printer.
A: The tiler builds multi-up sheets (copies of one photo for catalogs and print). The Image Splitter does the inverse — it cuts one photo into grid pieces (e.g. Instagram 3×3). Use the tiler to assemble; use the splitter to break a photo apart.
A: Not really — the tiler repeats copies of one image. For a labeled index of many different photos (photographer proofs, client selects, inventory sheets), use the free Contact Sheet Maker: up to 100 JPG/PNG/WebP/HEIC/AVIF images on Letter or A4 with filename labels, index numbers, and multi-page PDF, JPG, or ZIP export — all in your browser.
A: Grid Layout picks the smallest near-square grid for your quantity: 4-up is 2 × 2, 6-up is 3 × 2, 9-up is 3 × 3, 12-up is 4 × 3, 16-up is 4 × 4, 20-up is 5 × 4, and 24-up is 5 × 5 with one empty cell. Use Side by Side for a single row or Stacked for a single column.
A: At 300 DPI, US Letter is 2550 × 3300 px and A4 is 2480 × 3508 px. Tiles keep your source image’s pixel size, so divide the page by your grid (for example, 4-up on Letter with 30 px spacing allows tiles up to 1260 × 1635 px), resize the photo to fit with the image resizer, tile it with Auto or a matching Custom canvas, then tag the PNG as 300 DPI with the DPI converter.
A: Yes. Crop your design to a circle with transparent corners using the free Circle Crop tool, then upload that PNG here, choose Grid Layout, and add 10–30 px spacing so there is room to cut between stickers. Transparency is preserved in the downloaded PNG.
A: Yes. Drop an iPhone HEIC/HEIF or an AVIF straight into the tiler — it decodes in your browser (no upload, no convert-first step) and tiles at full resolution into a PNG sheet. Large iPhone photos take a few seconds to decode; HEIC metadata such as GPS location is not carried into the sheet.

 Buy me a coffee